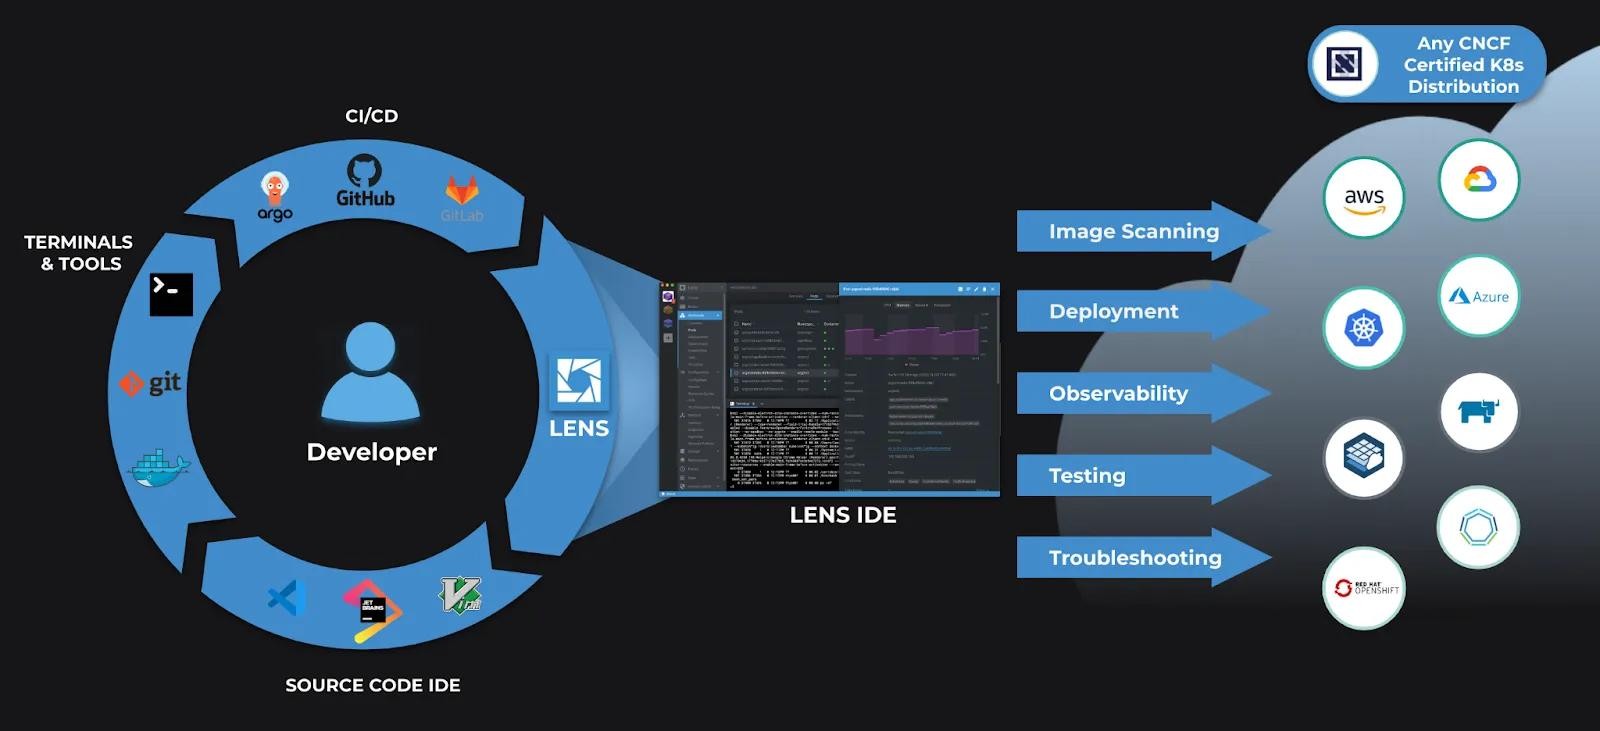
Containers and Kubernetes changed how we build, deploy, and run our applications and became a de-facto standard for running infrastructure at scale. It all starts with —
- Packaging the app into a Container Image
- Pushing and pulling images to and from the container registry
- Working with YAML files to define Kubernetes resources
- Deploying resources using kubectl
- Testing & Troubleshooting applications
In the early days — it was very complex to deploy a Kubernetes cluster, but today there are 65 certified Kubernetes distributions approved by CNCF. These distributions provide us with the flexibility to build clusters locally(minikube, Lens Desktop Kube, Docker Desktop), on the private clouds(MKE, RKE), or on the public clouds(EKS, AKS, GKE) seamlessly eliminating the complexity of having an environment to build and test our applications.
However, getting started with Kubernetes application development, troubleshooting issues, and how a user interacts with the clusters daily did not change a lot and is extremely complex.
In this blog post, I’ll walk you through the typical steps followed by developers to deploy and manage applications on Kubernetes, and how they can use Lens Platform to do the same quickly and seamlessly.
A developer’s journey starts with creating Pod in a local Kubernetes cluster using “kubectl”.
“Kubectl” is a command-line utility to interact with Kubernetes clusters to deploy applications, inspect and manage cluster resources, view logs, switch between clusters, and many more. The multitude of options makes it extremely powerful and difficult to master or even get started with it.
